

How to Install a Car Control Arm: Step-by-Step Guide
The control arm is a crucial component of a car's suspension system. It connects the wheels to the vehicle's body, helping maintain stability while driving. Over time, the control arm may wear out or get damaged and require replacement. In this article, we provide a detailed installation guide to help you replace your car's control arm on your own.
Tools and Materials Needed
Before starting, make sure you have the following tools and materials:
- Jack and safety stands
- Wrenches and sockets
- Torque wrench
- Pry bar
- Lubricant or penetrating oil
- New control arm (compatible with your vehicle model)
Installation Steps
- Ensure Safety
Before working on the car, ensure it is parked on a flat surface with the parking brake engaged. If possible, place wheel chocks behind the wheels on the opposite side to prevent movement.
- Lift the Vehicle and Remove the Wheel
Use a jack to lift the vehicle and secure it with safety stands. Then, use a wrench to loosen and remove the wheel nuts and take off the wheel.
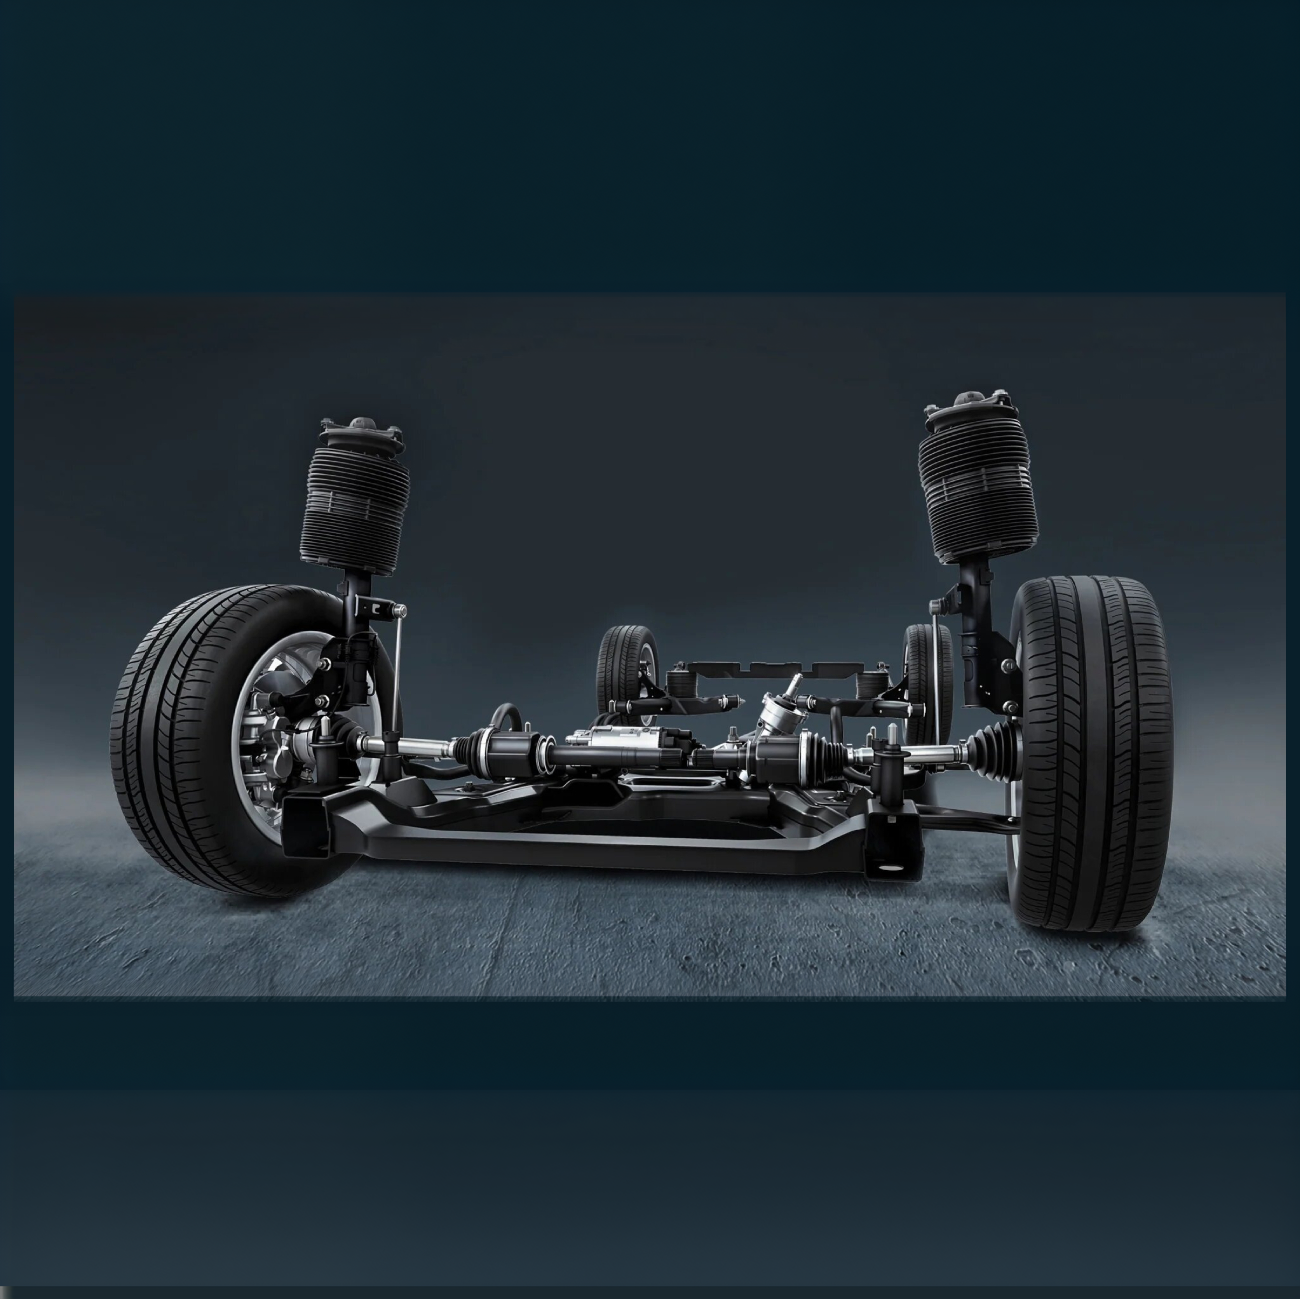
- Locate the Control Arm
Identify the control arm that needs to be replaced, usually located at the lower part of the suspension system. Inspect the control arm's connection points, including the ball joint and bushings.
- Remove the Old Control Arm
Spray lubricant on the bolts and connection points to ease removal. Then, use wrenches and sockets to loosen and remove the bolts securing the control arm. If the bolts are difficult to remove, use a pry bar for assistance.
- Install the New Control Arm
Align the new control arm into position and manually thread the bolts to secure it. Ensure the ball joint is correctly inserted into the suspension connection point.
- Tighten the Bolts
Use a torque wrench to tighten all bolts to the manufacturer's recommended torque specifications. Ensure all connections are secure and properly tightened.
- Check the Installation
Inspect the installation to ensure the control arm is properly secured and there are no loose bolts or other issues.
- Reinstall the Wheel and Lower the Vehicle
Reattach the wheel to the vehicle and tighten the nuts. Then, remove the safety stands and slowly lower the vehicle.
- Test the Vehicle
Test drive the vehicle in a safe area to ensure the new control arm is functioning correctly. If you notice any issues, recheck the installation.
Precautions
- Choose the Right Control Arm: Ensure the control arm you purchase is compatible with your vehicle model to avoid installation issues.
- Follow Torque Specifications: Tighten bolts according to the manufacturer’s recommended torque values to prevent over-tightening or loosening.
- Protect Ball Joints and Bushings: Avoid excessive force or damage to ball joints and bushings during installation to maintain suspension performance.
- Use Lubricant Sparingly: While lubricant helps remove old parts, ensure excess lubricant is cleaned off new parts to prevent loosening.
- Avoid Single-Side Replacement: When replacing one side's control arm, inspect the other side to see if it also needs replacement for balanced stability.
- Check Alignment: After installation, have the wheel alignment checked to ensure the suspension system’s geometry remains intact.
- Prioritize Safety: Always use safety stands to support the vehicle and never rely solely on a jack.
With this guide, you should be able to replace your control arm successfully. If you need high-quality control arm parts, visit our website, where we offer a wide range of products compatible with various vehicle models.
Leave a comment
This site is protected by hCaptcha and the hCaptcha Privacy Policy and Terms of Service apply.